Setting Up a Mailgun Relay With Postfix
By David Xiao
Mailgun is a SaaS that provides email services (both sending and receiving) through both conventional SMTP and RESTful APIs. Find more detail here.
In this post we will cover the SMTP option as it can be easily integrated with Postfix.
What’s Required
You would need the following:
-
A custom domain name, something like
yourcompany.com. You also need to have admin access to your DNS provider. -
A Mailgun account that allows you to send out mails using your custom domain name. Payment information is required when signing up but no charges will take place at the moment.
-
Admin privilege on a Linux box to set up Postfix server. Outbound internet access is required.
Onboarding Mailgun
Make sure you fill out payment information when signing up a new account on Mailgun. There’s no charge for small volume mail delivery but it’s a Mailgun requirement if you plan on delivering emails with your custom mail address like yourname@yourdomain.com.
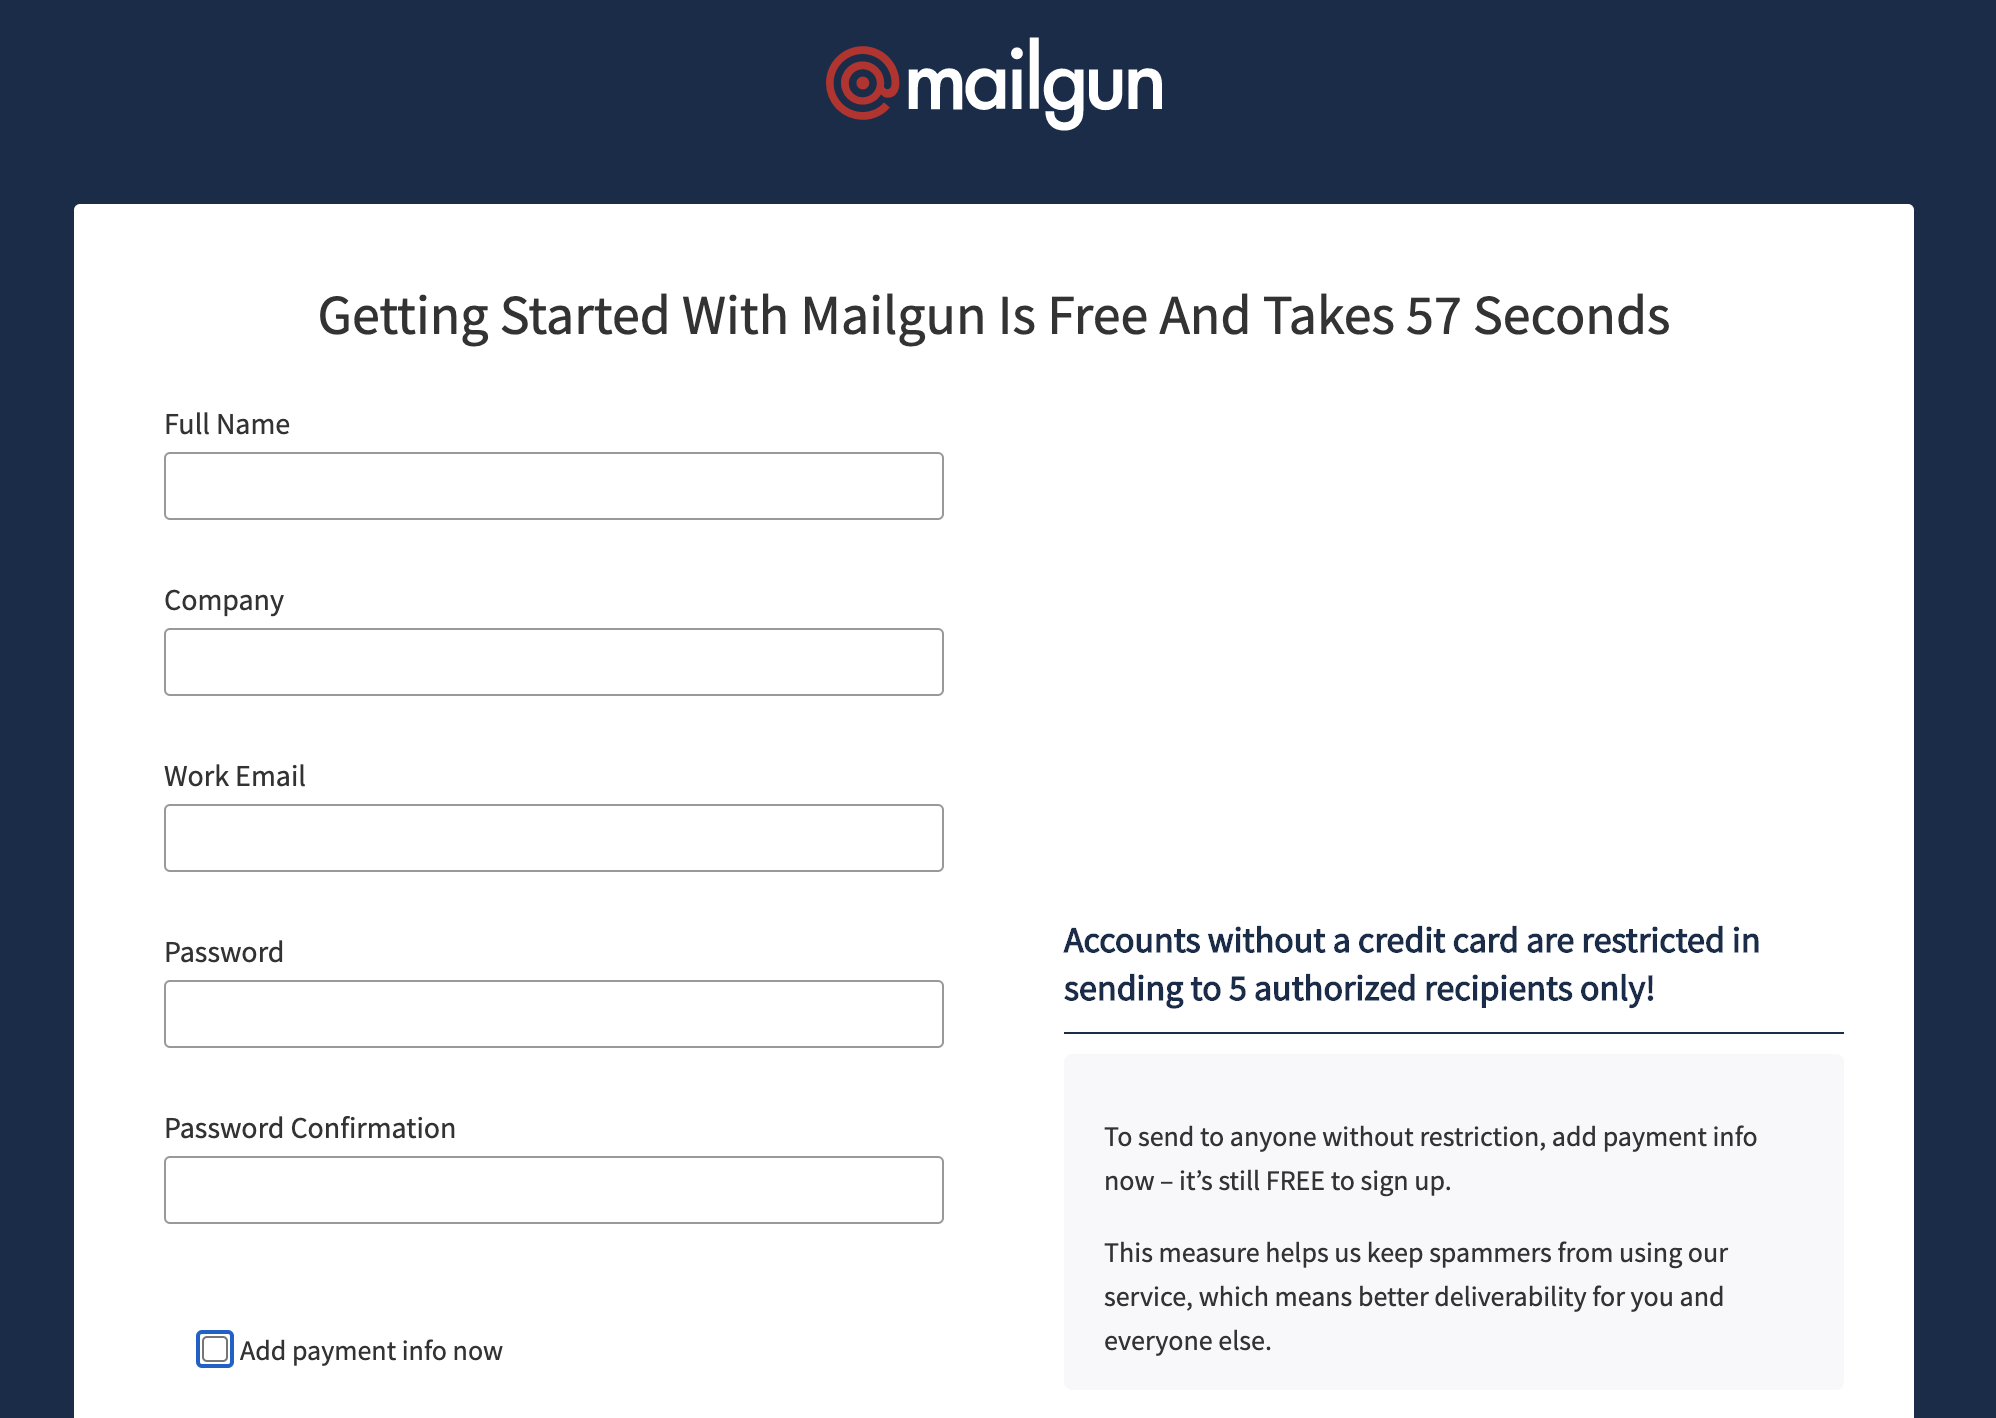
Sign up on Mailgun
Mailgun provides multiple plans, the Flex Trial is essentially a pay-as-you-go option that works very well if you don’t need to deliver a large volume of emails everyday.
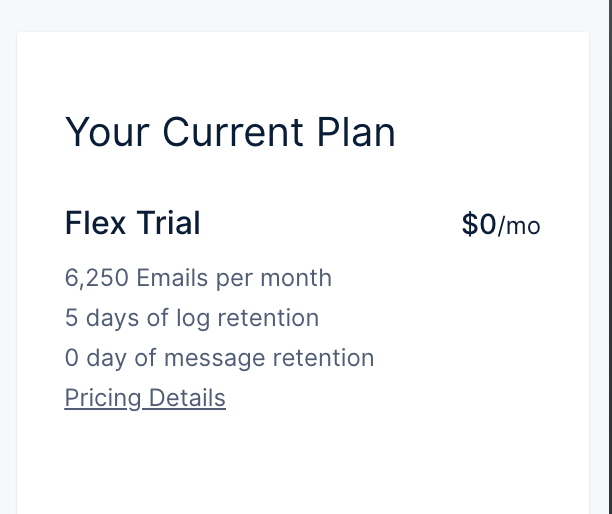
Flex Trial is pay-as-you-go
DNS Settings
For Sending on Mailgun to work properly, you’ve got to update a few DNS settings. First, you’d have to add a subdomain to your domain for Mailgun MX. For example, I’ve added mg.davidxiao.me.
Then you’d have to add a few TXT records on DNS.
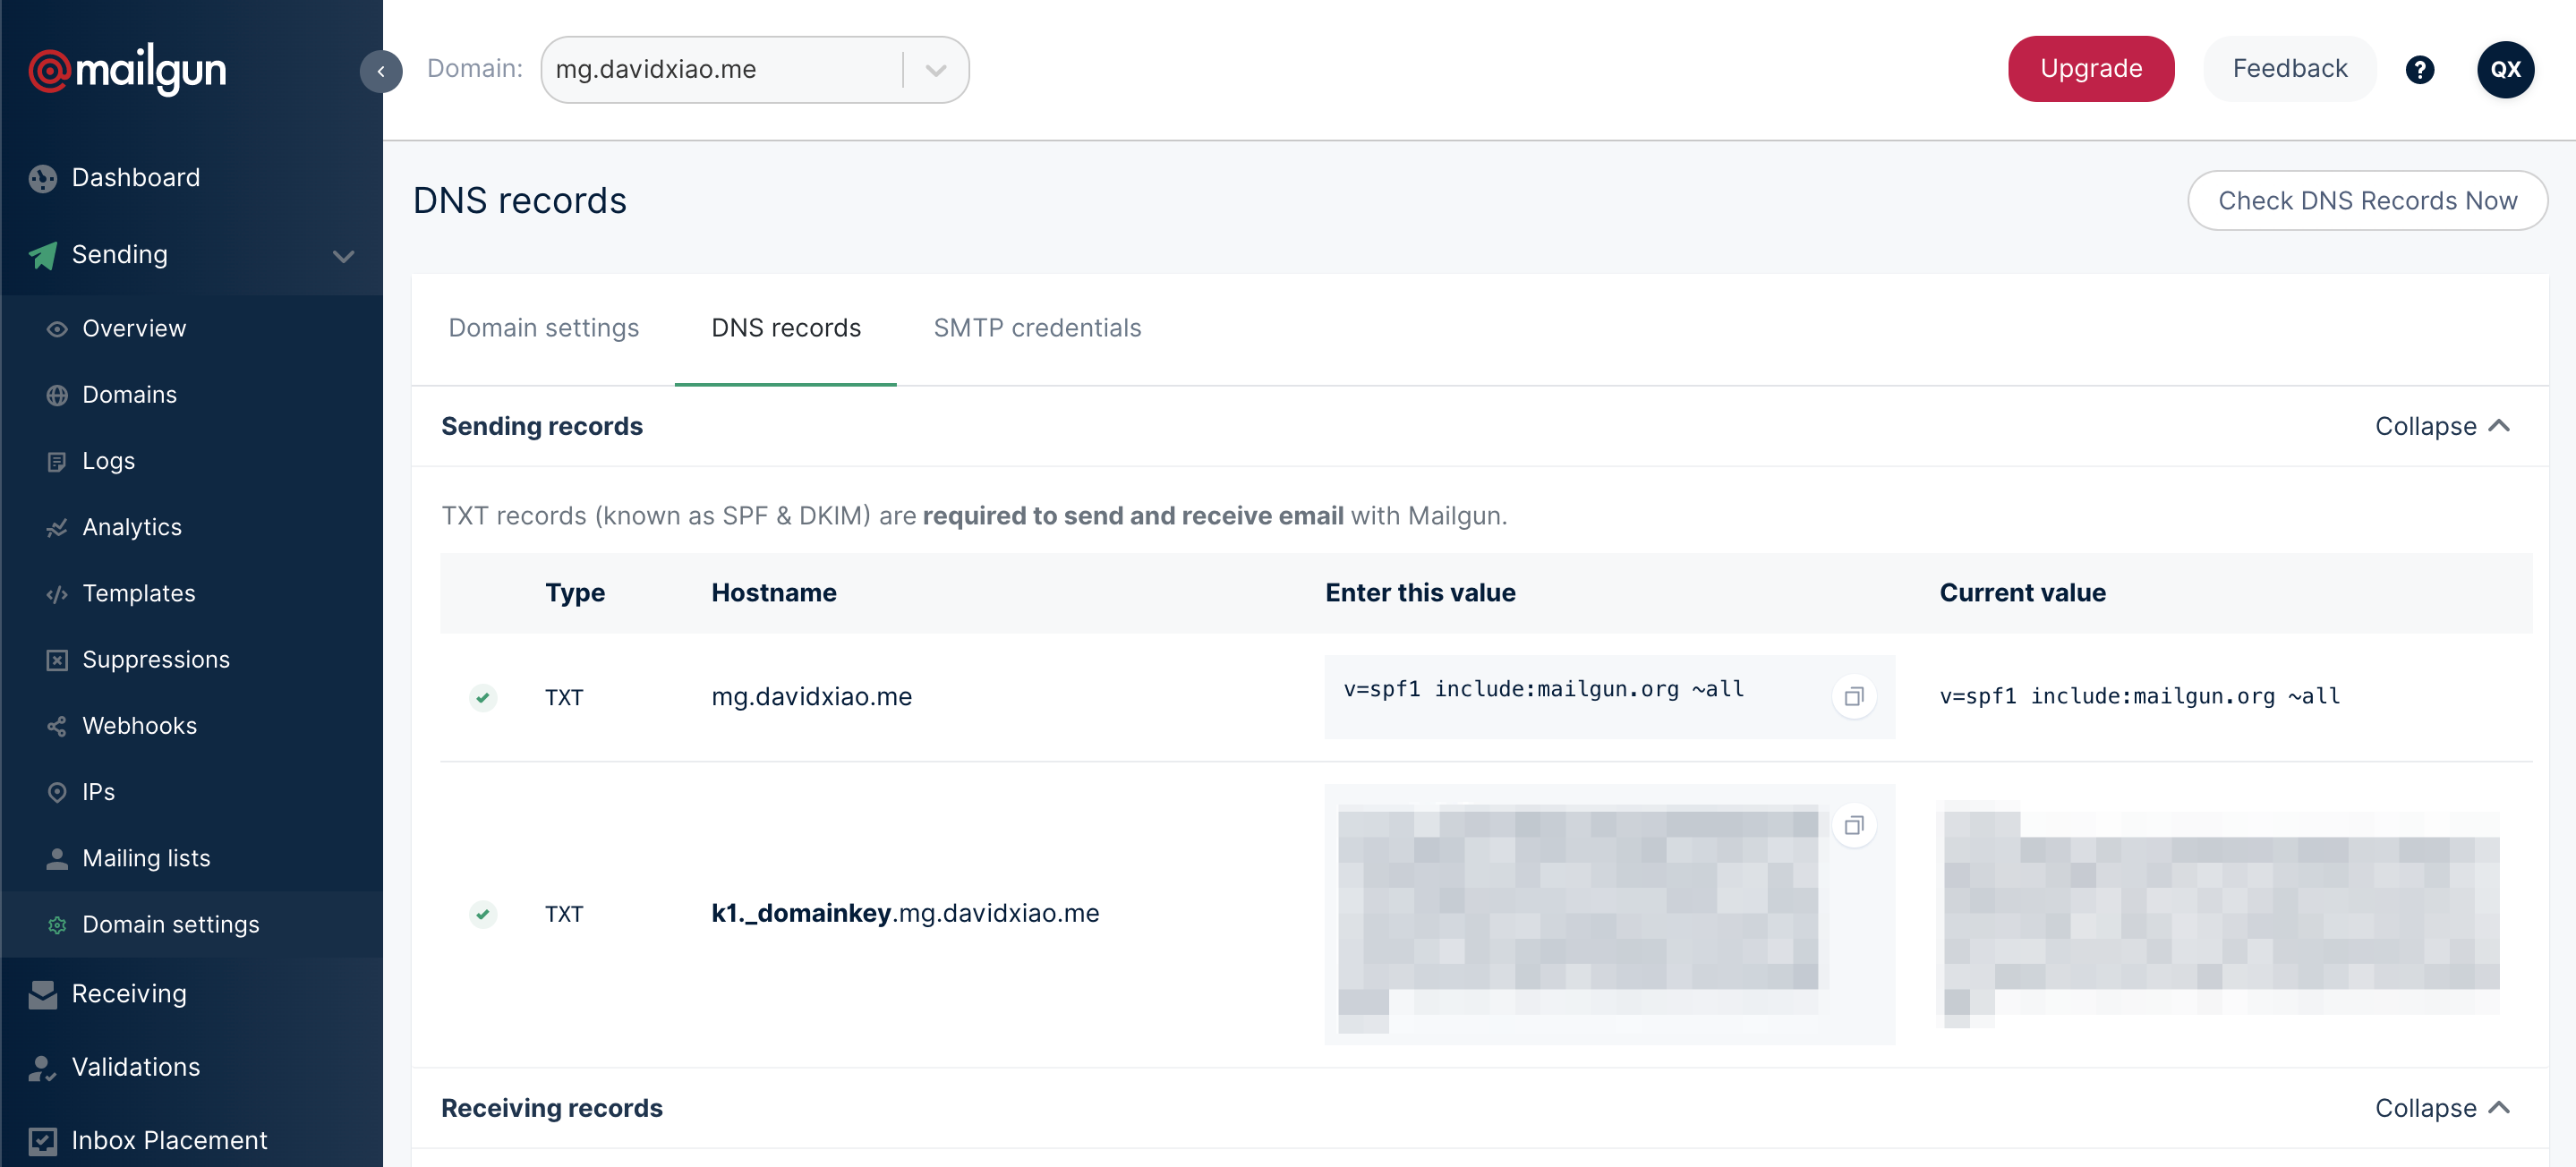
Adding TXT records for sending emails
What About Receiving
Receiving and forwarding incoming mails is a premium feature on Mailgun that requires spending commitments.
I will write another post talking about using a free-of-charge mail forwading service. Stay tuned.
SMTP Credential
On Mailgun portal, under Settings/Domain Settings and click on SMTP credentials, you will be able to provision new SMTP credentials. The SMTP password will only show one time during user provisioning for security.
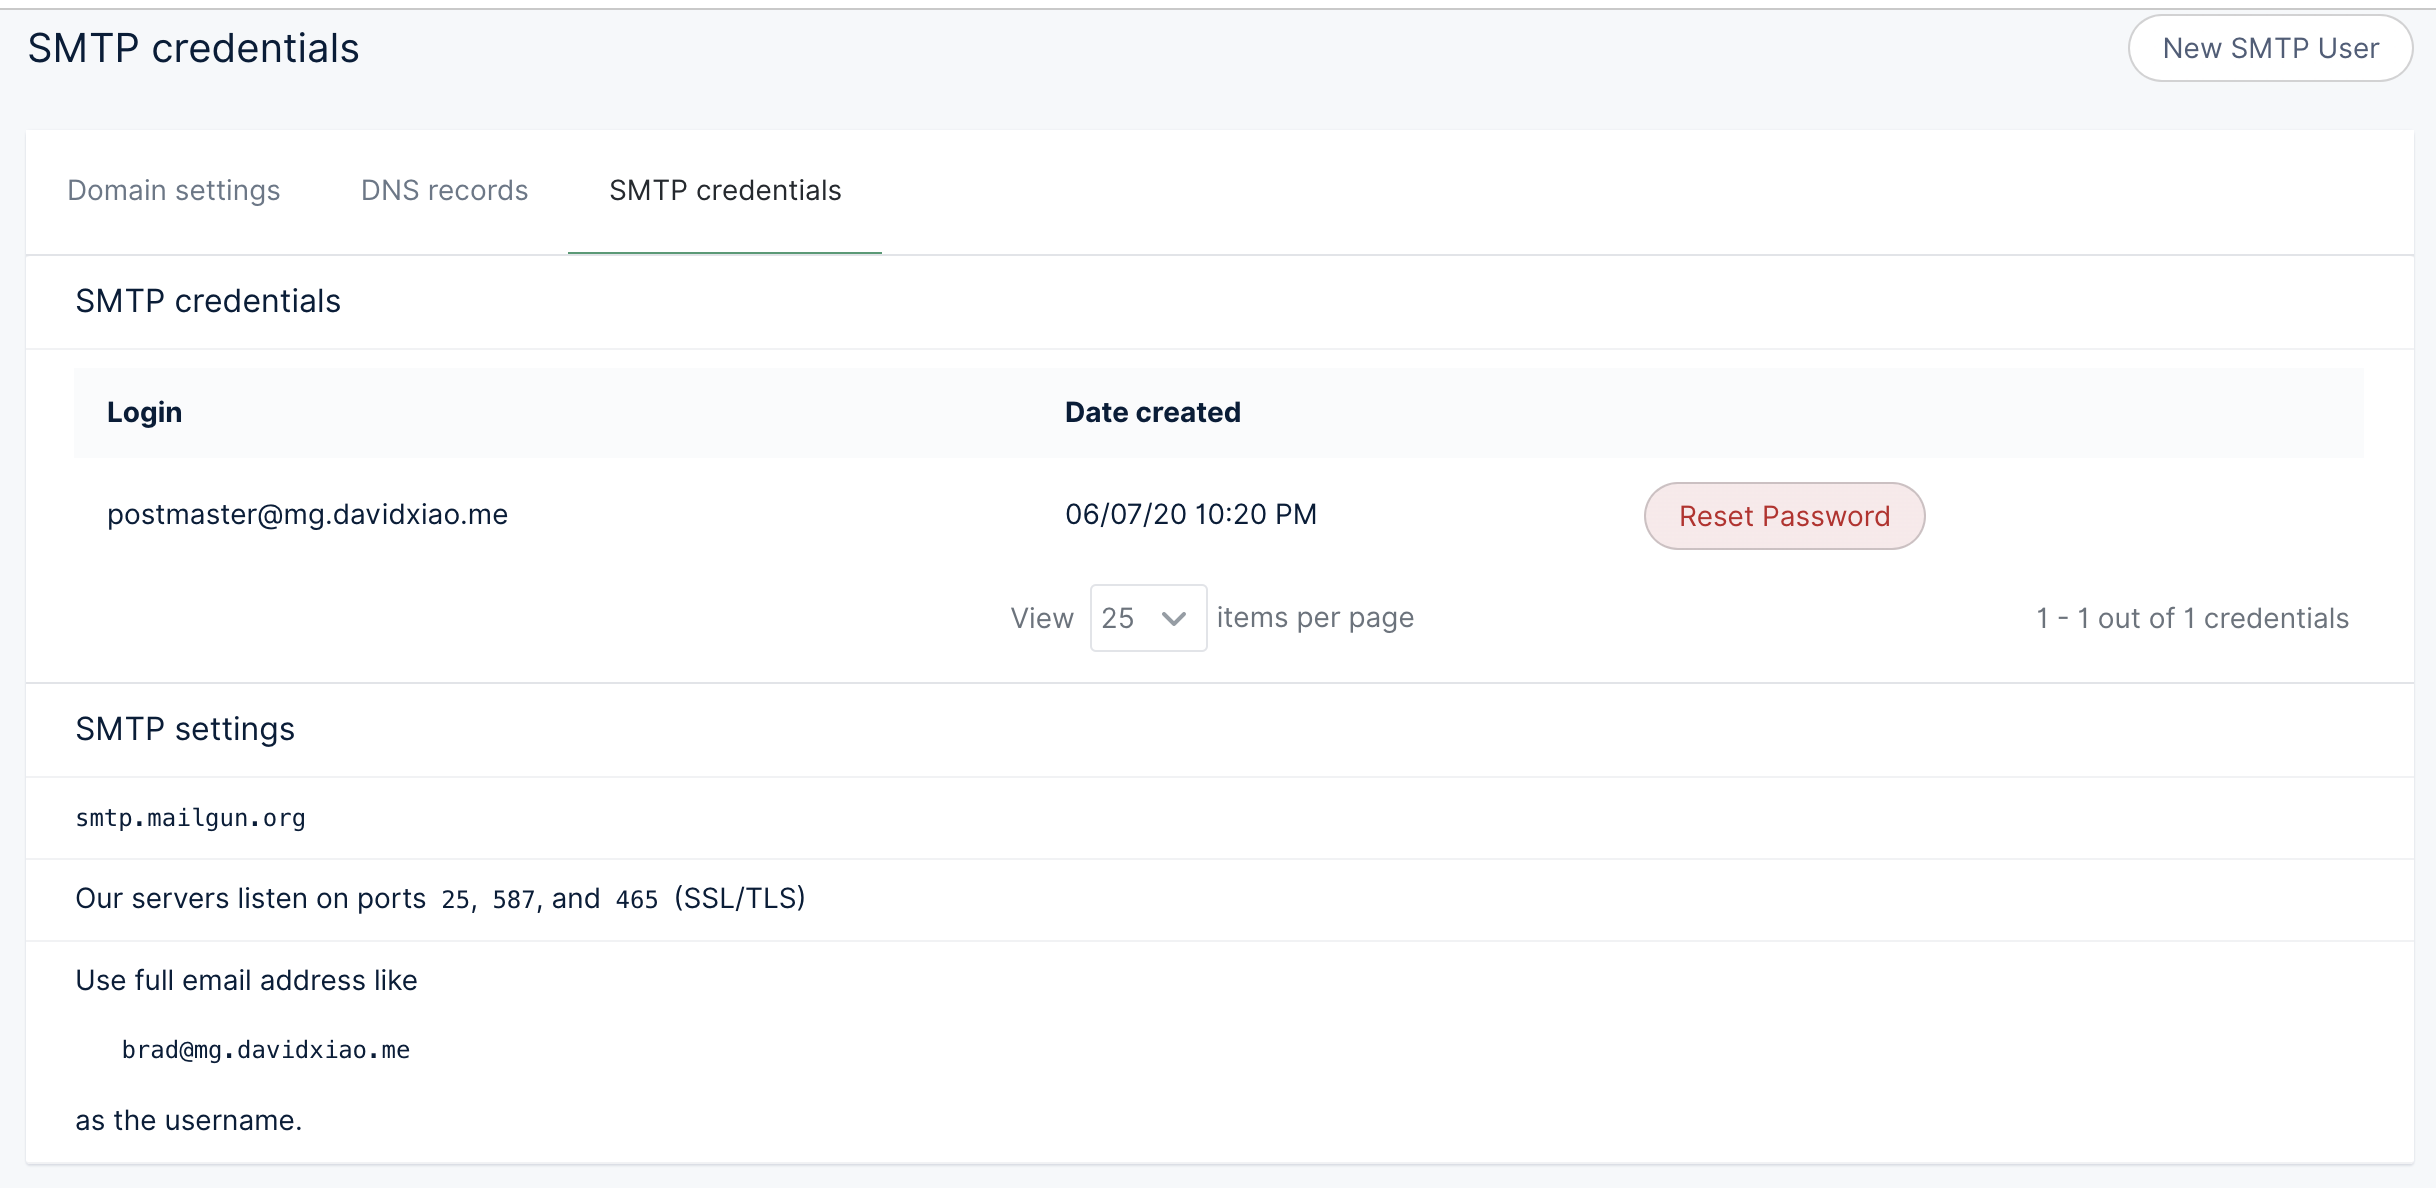
SMTP user credential and SMTP server detail
Which SMTP Port to Use
Short version: It depends on what your client can support.
Long version:
Mailgun indicates the following ports are open: 25, 587, and 465 (SSL/TLS)
Port 25 is not recommended because many enterprise firewalls deny it for security reasons.
Port 587 is the STARTTLS version. In short, client first initiates a plain TCP connection. When server advises that it supports STARTTLS, client will respond with STARTTLS and proceed with reconnecting to the same 587 port, this time with TLS handshake. The protocol is such that server will deny TLS handshakes in the first place if client did not complete an initial TCP session and ask for STARTTLS.
Port 465 is the “straight-in” SSL/TLS in that it deals with every session as TLS.
Postfix
Postfix can be easily installed on almost any Linux distro. On Ubuntu, run:
sudo apt install libsasl2-modules postfix ;
Then create a file /etc/postfix/sasl/sasl_passwd_mailgun. Copy the following line into the file, replacing your-username@mg.yourdomain.com:your-password-here with your actual SMTP credential.
[smtp.mailgun.org]:587 your-username@mg.yourdomain.com:your-password-here
Run:
sudo postmap /etc/postfix/sasl/sasl_passwd_mailgun ;
If all went well, you have a new file as /etc/postfix/sasl/sasl_passwd_mailgun.db. It’s what Postfix will be reading from for Mailgun SMTP authentication.
Secure the passwords
Both sasl_passwd_mailgun and sasl_passwd_mailgun.db contain plain text of your app password, to secure the access, you need to:
sudo chown root:root /etc/postfix/sasl/sasl_passwd_mailgun /etc/postfix/sasl/sasl_passwd_mailgun.db ;
sudo chmod 0600 /etc/postfix/sasl/sasl_passwd_mailgun /etc/postfix/sasl/sasl_passwd_mailgun.db ;
Setting up
Postfix’s main configuration file is /etc/postfix/main.cf. See the following my own configuration for your reference.
-
myhostnameindicates the hostname of the Postfix -
mynetworksis the IP CIDRs that are allowed to relay mails through Postfix. It should only contain your local networks -
smtp_sasl_password_mapsis where the sasl_passwd file is located -
relayhostis the server name and port. Replace it with[smtp.mailgun.org]:587
Edit the values respectively.
For security reason, do not expose Postfix service to anywhere outside of your trusted networks.
In the example above, I am allowing anonymous SMTP authentication from mynetworks. The argument can be made that attackers will be after more valuable targets than fiddling with Postfix relay service provided the local network is compromised.
Testing and Troubleshooting
When config file is done, reload Postfix configurations without having to restart the service:
sudo postfix reload ;
For SMTP testing, I personally like to use swaks, a purpose-built Perl script.
With swaks installed, it will be just a one-liner to send out a testing mail:
./swaks \
    --server <your-postfix-server-ip> \
    --port 25 \
    --from yourname@yourdomain.com \
    --to anymailbox@wherever.com \
    --h-Subject: "Hello world" \
    --body 'Testing some Mailgun awesomness!'
If you suspect something went wrong, go check the logs:
sudo tail -f /var/log/syslog ;
# and
sudo tail -f /var/log/mail.err ;
That’s it!
On a side note, there are lots of tweaks can be done on the Postfix end depending on what you need to achieve, but this simple guide should be able to get you started quickly.
Let me know if you have any questions or comments.